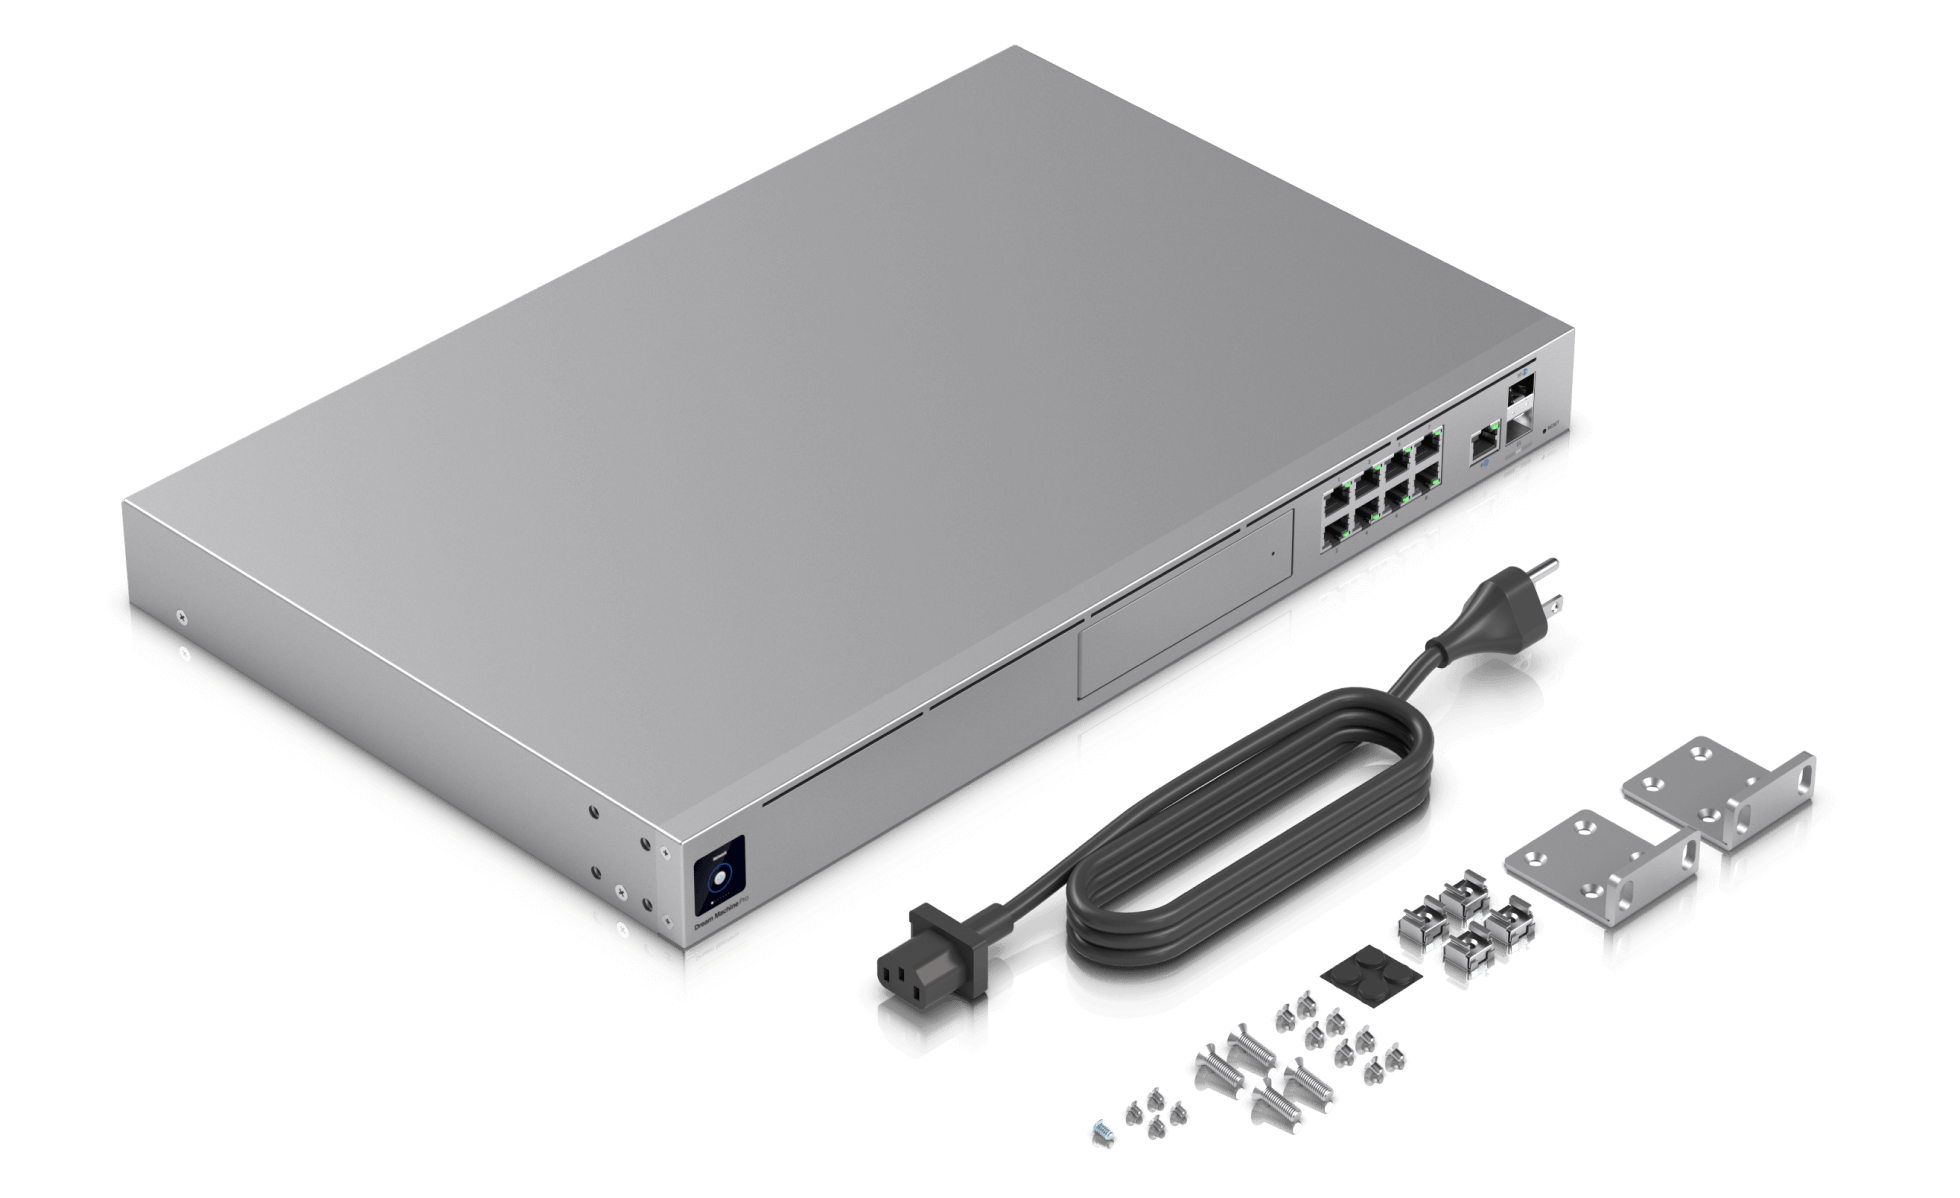
I recently got Trooli FTTP installed at home and like many networking enthusiasts, I wanted to use my Ubiquiti Dream Machine instead of the default Technicolor DGA4134 router that Trooli provides. There are a few good reasons for this:
- The UDM has significantly better performance and features
- I can manage my entire network from a single interface
- IPv6 support is properly configurable
- I'm a sucker for Ubiquiti's ecosystem and already have other UniFi gear
Trooli uses PPPoE authentication, so you'll need to extract the credentials from their provided router before you can connect your own equipment. Thankfully, it's relatively straightforward once you know where to look.
This guide will walk you through the process of extracting your PPPoE credentials from the Technicolor router and configuring your Ubiquiti Dream Machine to connect directly to Trooli's network, including full IPv6 support.
Step 1: Connect the Technicolor DGA4134 Router
After installation, connect the Technicolor DGA4134 router provided by Trooli. This router is pre-configured to work with your broadband connection. Power it on and wait for it to establish a connection to the internet.
Step 2: Connect to Trooli Wi-Fi
Using your computer or smartphone, connect to the Wi-Fi network broadcasted by the Technicolor DGA4134. The network name (SSID) and password should be on a sticker on the back of the router.
Step 3: SSH into the Technicolor DGA4134 Router
To extract the PPPoE (Point-to-Point Protocol over Ethernet) username and password needed for your Ubiquiti Dream Machine, you'll need to access the router via SSH. Follow these steps:
Open a terminal on your computer.
SSH into the router using the following credentials:
- Username:
engineer - Password: The password is written on the back of the router. You might need to peel the Trooli sticker carefully off the back to reveal the password written underneath.
ssh engineer@192.168.1.1- Username:
Step 4: Extract the PPPoE Username and Password
Once you're SSH'd into the router, run the top command to check for active processes. Look for the pppd command, which should contain the PPPoE username and password.
Here's what the relevant line might look like:
/usr/sbin/pppd nodetach ipparam wan ifname pppoe-wan lcp-echo-interval 10 lcp-echo-failure 5 lcp-echo-adaptive set PEERDNS=0 nodefaultroute usepeerdns maxfail 1 user PPPOEUSERNAME password PPPOEPASSWORD ip-up-script /lib/netifd/ppp-up ipv6-up-script /lib/netifd/ppp6-up ip-down-script /lib/netifd/ppp-down ipv6-down-script /lib/netifd/ppp-down plugin connstate.so mtu 1500 mru 1500 plugin rp-pppoe.so graceful_restart /etc/ppp/pppoesession_vlan_wan nic-vlan_wan host-uniq SOMMESTRING
- PPPOEUSERNAME is your actual PPPoE username.
- PPPOEPASSWORD is your actual PPPoE password.
Make a note of both the username and password, as you'll need them to set up your Ubiquiti Dream Machine.
Step 5: Configure Your Ubiquiti Dream Machine
Now that you have your PPPoE credentials, it's time to configure your UDM:
Access the UDM Settings: Connect to the UDM's Wi-Fi network and open the Ubiquiti Network application. Alternatively, you can connect directly via a wired connection to the UDM and access the settings through a web browser.
Navigate to Network Settings: Go to
Network>Settings.Set Up Internet Connection: Under the
Internetsection, go toPrimary WAN.MAC Address Clone (Optional): Enable MAC address cloning and enter the MAC address of the Technicolor DGA4134 router.
Select IPv4 Connection Type: Choose
PPPoEfrom the dropdown menu.Enter PPPoE Credentials: Use the PPPoE username and password you extracted earlier.
Select IPv6 Connection Type: Choose DHCPv6, Prefix Delegation Size: 56
Apply Settings: Save your changes and allow the UDM to connect. It should now establish a connection using your Trooli broadband.
Comments